| Categories | Mitsubishi HVAC Manuals |
|---|---|
| Document Type | Heating, Ventilating and Air Conditioning Manual, HVAC. |
| Tags | Mitsubishi JG79A167H02 |
| Download File |
|
| Language | English |
| Product Brand | Heating, Ventilating and Air Conditioning Manual, Mitsubishi Electric US, Inc. Americas Corporate Office Phone: 714-220-2500; Application support or for technical information regarding applications for Mr. Slim, Toll-free: 1-800-433-4822 |
| Document File Type | |
| Publisher | mehvac.com |
| Wikipedia's Page | Mitsubishi Electric |
| Copyright | Attribution Non-commercial |
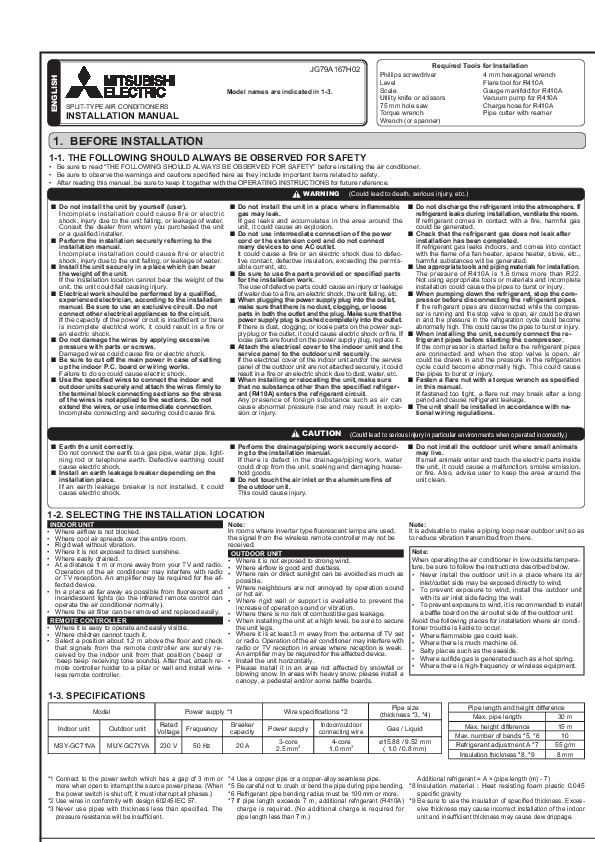
JG79A167H02 ENGLISH Model names are indicated in 1-3. SPLIT-TYPE AIR CONDITIONERS INSTALLATION MANUAL Required Tools for Installation Phillips screwdriver Level Flare tool for R410A Scale Gauge manifold for R410A Vacuum pump for R410A 75 mm hole saw Charge hose for R410A Torque wrench Pipe cutter with reamer Wrench (or spanner) 1. BEFORE INSTALLATION 1-1. THE FOLLOWING SHOULD ALWAYS BE OBSERVED FOR SAFETY · Be sure to read “THE FOLLOWING SHOULD ALWAYS BE OBSERVED FOR SAFETY ” before installing the air conditioner.
· After reading this manual, be sure to keep it together with the OPERATING INSTRUCTIONS for future reference. WARNING Do not install the unit by yourself (user). Incomplete installation could cause fire or electric gas may leak. If gas leaks and accumulates in the area around the Do not use intermediate connection of the power cord or the extension cord and do not connect many devices to one AC outlet. sible current, etc. for the installation work. When plugging the power supply plug into the outlet, make sure that there is no dust, clogging, or loose parts in both the outlet and the plug. Make sure that the power supply plug is pushed completely into the outlet. If there is dust, clogging, or loose parts on the power supAttach the electrical cover to the indoor unit and the service panel to the outdoor unit securely. If the electrical cover of the indoor unit and/or the service When installing or relocating the unit, make sure the terminal block connecting sections so the stress of the wires is not applied to the sections. Do not extend the wires, or use intermediate connection. ant (R410A) enters the refrigerant circuit. period and cause refrigerant leakage. The unit shall be installed in accordance with national wiring regulations. in this manual. Do not discharge the refrigerant into the atmosphere. If refrigerant leaks during installation, ventilate the room. could be generated. Check that the refrigerant gas does not leak after installation has been completed. If refrigerant gas leaks indoors, and comes into contact harmful substances will be generated. Use appropriate tools and piping materials for installation. The pressure of R410A is 1.6 times more than R22. Not using appropriate tools or materials and incomplete When pumping down the refrigerant, stop the compressor before disconnecting the refrigerant pipes. If the refrigerant pipes are disconnected while the compressor is running and the stop valve is open, air could be drawn When installing the unit, securely connect the refrigerant pipes before starting the compressor. If the compressor is started before the refrigerant pipes are connected and when the stop valve is open, air could be drawn in and the pressure in the refrigeration Perform the installation securely referring to the installation manual. Incomplete installation could cause fire or electric Install the unit securely in a place which can bear the weight of the unit. If the installation location cannot bear the weight of the experienced electrician, according to the installation manual. Be sure to use an exclusive circuit.